Ready to jump into OnlyFans? Getting your account off the ground is pretty straightforward, but a little prep work goes a long way. The process boils down to a few core actions: signing up, proving you're you, setting up your bank info, and crafting your profile.
Nailing these first steps is crucial. Think of it as laying the groundwork for your entire business—getting it right now saves you major headaches later.
Your Quick Start Guide to Launching on OnlyFans
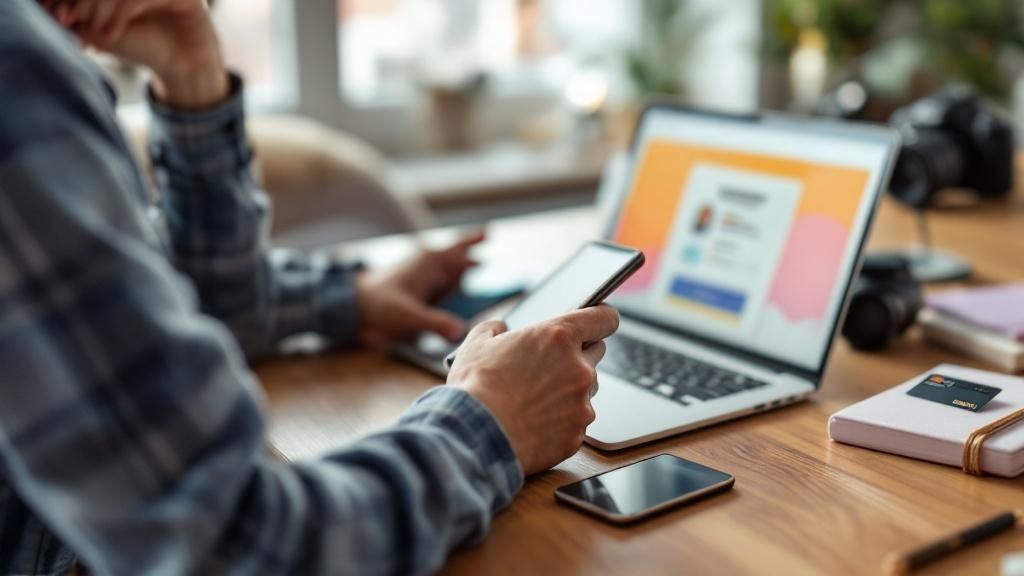
Before you even head over to the OnlyFans website, let's get you organized. Having everything you need on hand turns a potentially tedious process into a quick one. This isn't just about saving time; it's about starting your creator journey on the right foot.
The first major hurdle is the verification process. This is non-negotiable and a critical part of the platform's safety measures. You'll need a valid, government-issued photo ID—think driver's license, passport, or a national ID card. The key word here is valid. An expired ID is a guaranteed rejection, so double-check those dates.
Getting Your Paperwork in Order
First thing's first: you have to be at least 18 years old. OnlyFans is extremely strict about this, and the verification process is designed to confirm it. You'll register with an email, pick a username, and then dive into the creator application. This involves submitting your ID and a clear selfie holding it to prove it's really you.
The review process can take anywhere from a few hours to a couple of days, so be patient. If you're curious about platform rules or want to see some interesting creator data, a great resource is OFStats.net.
It's not just about your ID, though. You also need to figure out how you'll get paid. Have your bank account details ready to go. The most important detail here? The name on your bank account must be an exact match to the name on your ID. Even a slight difference can jam up the works and delay your payouts.
Before we move on, let's quickly recap what you'll need to have ready.
OnlyFans Creator Setup Checklist
Here is a simple breakdown of the essential items you'll need to gather before you start the registration and verification process. Having these ready will make everything go much smoother.
| Requirement | What You Need | Why It Matters |
|---|---|---|
| Age | Must be 18+ years old. | This is a non-negotiable legal requirement for the platform. |
| Valid ID | Government-issued photo ID (Passport, Driver's License, etc.). | Required to verify your age and identity. It cannot be expired. |
| Live Photo | A clear selfie of you holding your ID. | Confirms you are the person on the ID, preventing fraud. |
| Email Address | A secure and accessible email account. | Used for account registration, communication, and security alerts. |
| Bank Account | A bank account in your legal name. | This is how you will receive your earnings from OnlyFans. |
| Tax Information | Your Social Security Number (SSN) or equivalent tax ID. | Necessary for tax purposes (like receiving a W-9 form in the US). |
Getting these items in order before you start is the single best thing you can do to ensure a quick and successful application.
Choosing Your Creator Identity
Your username and display name are your digital handshake. They're the first thing a potential fan sees. Your username (the one with the @) is locked in once you choose it, so give it some thought. Your display name, on the other hand, can be changed anytime.
Here’s what to think about when picking your name:
- Your Brand: Does the name give a hint about your content? Something catchy and relevant will stick in people's minds.
- Privacy: If you're aiming for anonymity, make absolutely sure your username and display name don't contain any personal details.
- Consistency: Is the username available on other social media sites you plan to use for promotion? A consistent handle across platforms like Twitter or Instagram makes you much easier to find and helps build brand recognition.
Your digital identity is your brand's first impression. A smart username and a professional profile picture instantly signal what you're all about, grabbing a potential subscriber's attention before they even see your content.
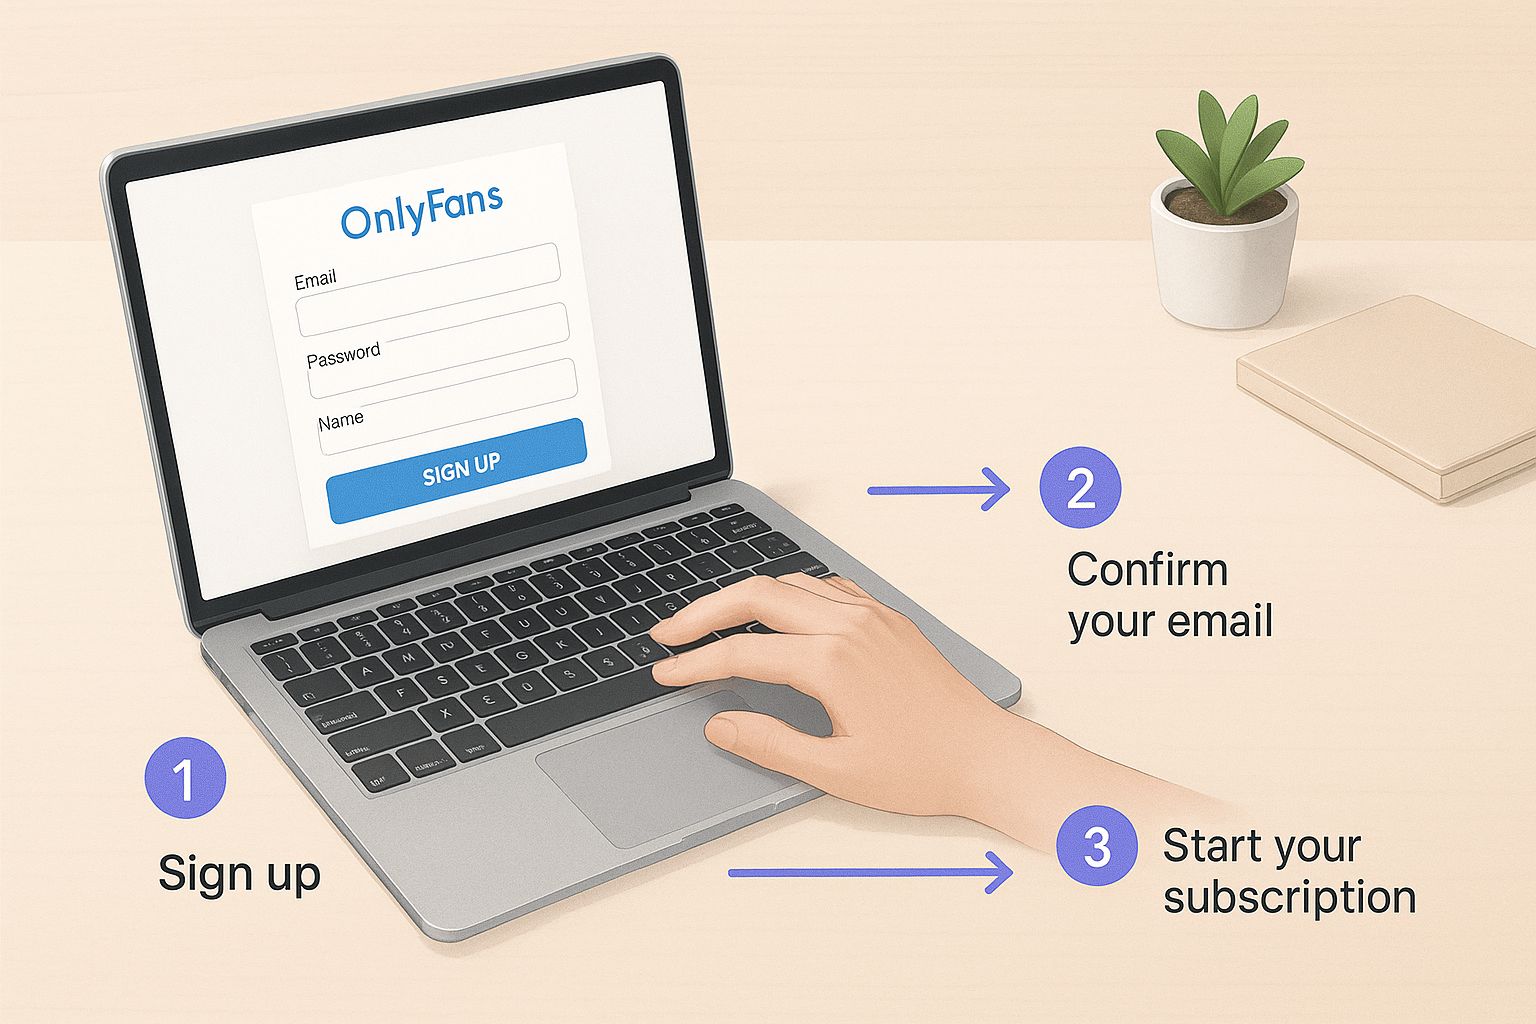
The initial sign-up screen is simple enough—just email and a strong password. From there, the site will walk you straight into the creator application. By having all your documents and info ready, you turn a potential roadblock into a simple to-do list item. This preparation is the key to launching your page with confidence.
Passing the OnlyFans Verification Process
Alright, you've registered your email and snagged a username. Now comes the first real hurdle in getting your OnlyFans account off the ground: the verification process. This step is non-negotiable and, honestly, it's where a lot of new creators get stuck. But if you know exactly what the review team is looking for, you can breeze right through it.
At its core, the whole point is to confirm two simple things: you are who you say you are, and you are at least 18 years old. Think of it as a crucial safety check that protects everyone involved.
Getting Your ID Documents Ready
Before you even think about snapping a photo, let's talk about your ID. OnlyFans is pretty strict about what they’ll accept, and sending the wrong kind of document is a surefire way to get rejected right out of the gate.
- What works: You need a valid, unexpired, government-issued photo ID. We're talking about a passport, a driver's license, or a national identity card.
- What doesn't: Don't even try using a school ID, a library card, or anything else that isn't from the government. Also, double-check that expiration date. It’s a rookie mistake, but it happens all the time.
One more critical detail: the name on your ID must be an exact match for the legal name you put on your creator application. No nicknames, no shortened versions. If your ID says "Jennifer" but you signed up as "Jen," you're probably going to get flagged for a manual review, which just slows everything down.
My best advice? Find a spot near a window with plenty of natural light before you begin. You want bright, indirect light—not harsh sunlight that creates a nasty glare on your ID. Good lighting is half the battle for getting approved on the first try.
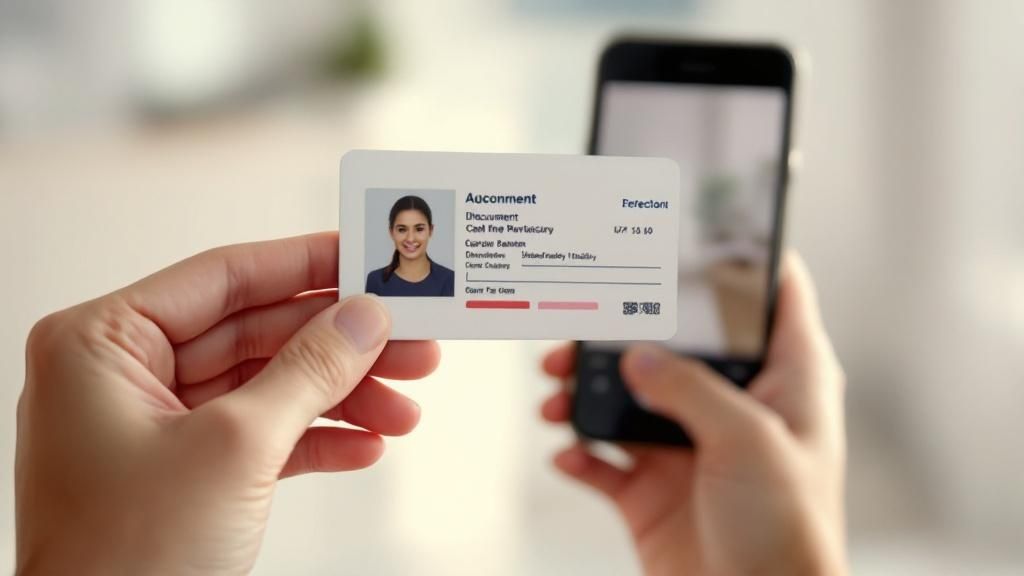
This visual guide breaks down how to get your account prepped for a smooth verification.
As you can see, having your documents in order and knowing the photo rules ahead of time makes the entire process a whole lot less painful.
Taking the Perfect Verification Photos
You'll be asked to submit two key photos: one of the front of your ID and a selfie of you holding it. The quality of these images is everything.
For the picture of your ID, lay it down on a plain, flat surface. Make sure the photo is perfectly sharp—no blurriness. All four corners need to be in the shot, and every single detail (text, your picture, holograms) has to be crystal clear.
Now for the selfie. Hold your ID up next to your face. Be careful not to cover any part of your face or the important details on the ID with your fingers. Look straight into the camera. The goal is for the review team to easily see that the person in the selfie is the same person in the ID photo.
Here are the most common slip-ups to avoid:
- Blurry Pictures: Brace your arm or set your phone on something stable.
- Bad Lighting: Photos that are too dark or grainy are an automatic "no."
- Covered Information: Watch where your fingers are!
- Filtered Photos: Absolutely no filters or edits. They need the raw, unedited image.
Once you submit everything, the review can take anywhere from 24 to 72 hours. It’s a thorough check. While OnlyFans is a giant in this space, it’s worth knowing how its creator onboarding stacks up against the competition. You can explore a detailed comparison of OnlyFans vs competitors to see how different platforms handle their requirements. Nail this step, and you'll be on your way to building your page in no time.
Getting Paid: Connecting Your Bank Account
You’ve made it through verification—congratulations! Now for the most important part: making sure your hard-earned money actually gets to you. This is where you'll connect your bank account, and while it's a simple process, getting the details right is absolutely critical to avoid payout headaches later on.
First things first, you’ll need to input your banking information. For US-based creators, this means your bank's name, your account number, and the routing number. If you're international, you'll likely need your IBAN and SWIFT/BIC codes.
The golden rule here is that the name on your bank account must be an exact match to the legal name on the ID you used for verification. No nicknames, no abbreviations. If your ID says "Katherine Smith," your bank account can't say "Katie Smith." Any little difference will flag the system and put your payouts on hold.
Seriously, triple-check every digit and every letter before you hit save. It’s a strict anti-fraud measure, and they don't mess around.
Understanding the 80/20 Split
One of the best things about OnlyFans is how transparent they are with earnings. You keep a solid 80% of everything you make—subscriptions, tips, pay-per-view messages, you name it. The remaining 20% is the platform's fee, which covers all the operational stuff like payment processing, site hosting, and creator support.
But remember, that 80% is your gross income. You're running a business now, which means you're responsible for your own taxes.
Pro Tip: Don't get caught off guard at tax time. A smart habit to start immediately is to set aside a portion of every single payout for taxes. Future you will be incredibly grateful.
Your creator dashboard gives you a full, transparent breakdown of all your earnings, the fees deducted, and what's pending. It's your financial command center, so get familiar with it.
Payout Methods and Timelines
How you get paid depends on where you live. For most creators in the United States, ACH direct deposit is the standard and most straightforward option. For everyone else, it’s typically an international bank transfer using SWIFT.
It's also important to know that payouts aren't instant. There’s a holding period while funds clear before they become available for you to withdraw.
- Minimum Payout Threshold: You have to earn a certain amount before you can cash out. In the US, the minimum is usually just $20. For international SWIFT transfers, however, it can be much higher—sometimes $200 or more—to account for the higher processing fees.
- Payout Frequency: You have a choice. You can either set up automatic monthly payouts or withdraw your money manually whenever you hit the minimum. Most creators I know prefer manual withdrawals; it just gives you more control.
Since OnlyFans pays creators 80% of their revenue, getting a handle on these financial details is key. Research shows that only about 4.2% of users on the platform actively spend money, averaging around $48.52 per creator. This really underscores how vital it is to build a dedicated fanbase that's willing to pay for your content.
Treating your account like a real business from day one is the path to success. It's not just about creating great content; it's about managing your finances effectively so you get paid promptly and without any drama. If you're curious what these percentages and numbers can look like in the real world, our deep dive into the average OnlyFans income offers some fantastic context.
Designing a Profile That Attracts Subscribers
Alright, you've jumped through the hoops of verification and got your payment info squared away. Now for the creative part—building a profile that doesn't just exist but actively pulls people in and makes them want to subscribe.
Your profile page is essentially your digital storefront. It's the very first impression you make, and you only get one shot. Think of it like the cover of a book; a killer cover photo, an intriguing title, and a great summary make people want to see what's inside. Your profile picture, banner, bio, and any pinned posts all need to work together to tell a compelling story about you and the experience you're offering.
Choosing Your Profile and Banner Images
The first things anyone sees are your profile picture and banner, so they need to be good. We're talking high-quality, on-brand visuals that give a clear taste of what you're all about.
- Your Profile Picture: This little circle is your face on the platform, showing up everywhere from DMs to comments. It needs to be a crisp, high-resolution shot that perfectly captures your creator persona. A captivating headshot or a photo that cleverly hints at your niche usually works wonders.
- Your Banner Image: This is your personal billboard. Use this prime real estate to show off your personality, establish your content's theme, or even throw in a call-to-action. Some of the best I've seen are either stunning photos or simple graphics with a username and a catchy tagline.
The real key here is consistency. Your visual branding should feel deliberate and professional. A blurry, thrown-together photo just screams low-effort, and that's a huge red flag for potential fans.
Your profile page is your most important sales tool. Every element, from your bio to your pricing, should be strategically designed to convert visitors into loyal, paying fans.
Crafting a Bio That Converts
Your bio is your elevator pitch. You've got just a few seconds to grab someone's attention and convince them your content is worth paying for. It has to be short, punchy, and persuasive.
Ditch the generic "Welcome to my page!" and get specific. What's unique about your content? Do you post every single day? Are you known for personalized chats or custom videos? Put those selling points front and center. A few well-placed emojis can add personality and break up the text, but don't go overboard.
Your main goal is to instantly answer a visitor's most pressing question: "What's in it for me?"
Strategic Subscription Pricing
Figuring out what to charge can feel like throwing a dart in the dark, but it's one of the most important business decisions you'll make. The price you set sends a direct message about the value and exclusivity of your content. Let's break down a few common approaches.
| Pricing Strategy | Best For | Potential Outcome |
|---|---|---|
| Low Entry Price ($4.99 - $7.99) | New creators or those aiming for a large audience. | Quickly builds a high subscriber count, ideal for earning through PPV and tips. |
| Mid-Tier Price ($9.99 - $19.99) | Creators with an established following or offering consistent, high-quality content. | Attracts a more serious audience and provides a stable monthly income. |
| Premium Price ($20+) | Niche creators offering highly specialized or exclusive content. | Smaller but more dedicated fanbase with high spending potential. |
It's absolutely crucial to get a feel for the market you're stepping into. The average OnlyFans creator makes around $150 to $180 per month. But that number is heavily skewed by the top accounts—the top 1% of creators rake in about 33% of all money on the platform. This just goes to show how vital it is to find your niche and price yourself competitively right from the get-go. You can dive deeper into OnlyFans earnings statistics and how they vary to get a better picture.
To truly stand out, you need a clear value proposition. If you're struggling to see what others in your niche are doing, using an OnlyFans model finder can give you valuable market insights. And remember, your price isn't set in stone. Don't be afraid to adjust it as your page and your confidence grow.
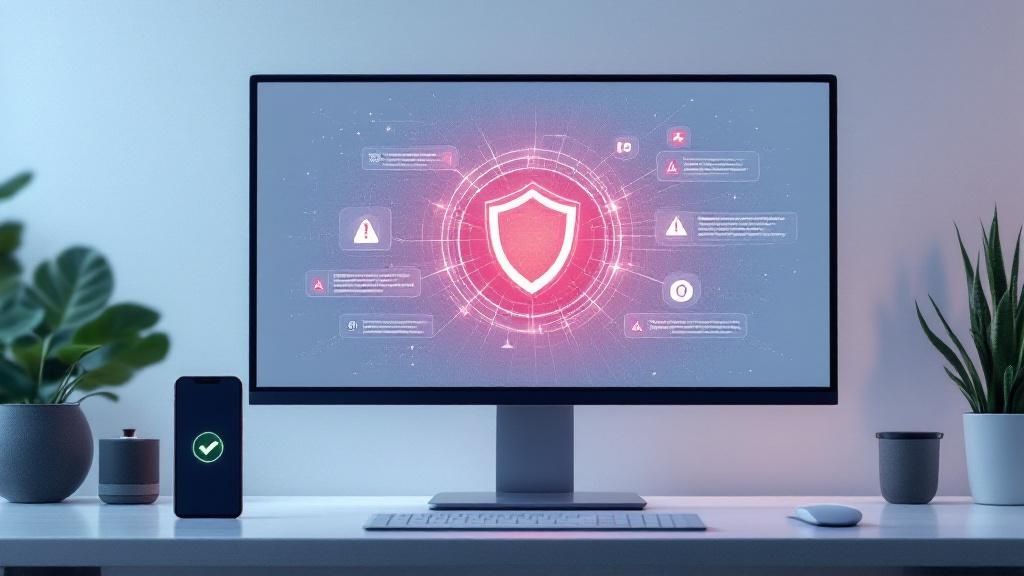
How to Configure Your Security and Privacy Settings
Alright, your profile looks great and your payment info is locked in. Now comes the part that a lot of new creators gloss over, but it's arguably one of the most important: locking down your account.
Think of it this way: you wouldn't leave the front door of your business unlocked, right? Fortifying your account security is the digital equivalent. It's about protecting your content, your privacy, and ultimately, your income. Let's walk through how to do it right.
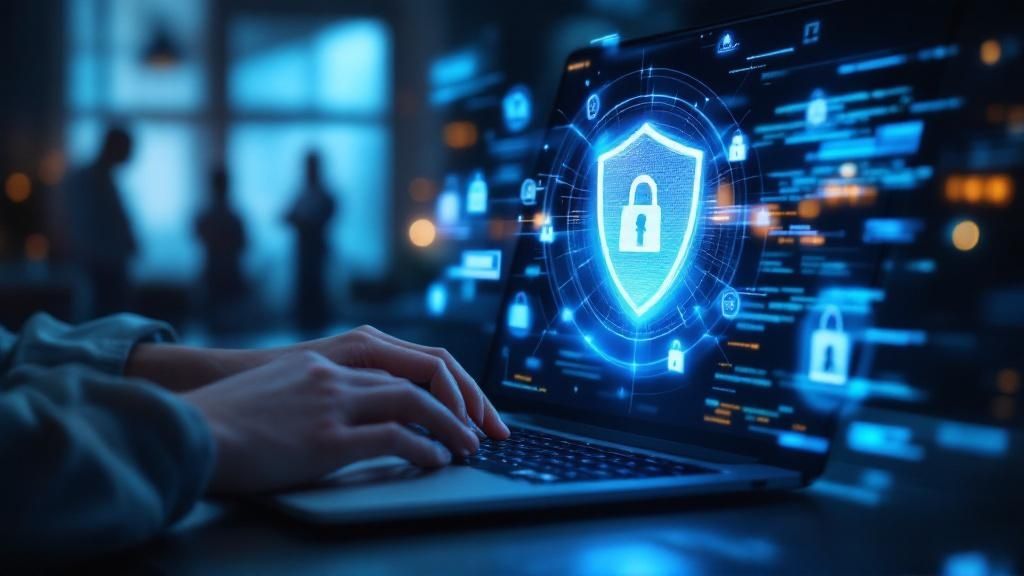
The Non-Negotiable First Step: Two-Factor Authentication
Your security settings are the digital locks on your new business, and the most important one by far is two-factor authentication (2FA). Seriously, if you do nothing else, do this. It’s your single strongest defense against someone getting into your account who shouldn't be there.
Without 2FA, all a hacker needs is your password. With it, they also need a one-time code from your phone. That extra step makes it exponentially harder for anyone to compromise your account and mess with your content or your earnings.
Setting it up is a breeze. Just head over to the "Security" tab in your settings. You can get codes sent to your phone via SMS or use an authenticator app like Google Authenticator. My personal recommendation? Use an app. It's just a bit more secure than SMS.
It's a quick process:
- Go to Settings > Security.
- Find and select the Two-Factor Authentication option.
- Just follow the steps on the screen to either link your phone number or scan the QR code with your chosen app.
- Pop in the code it gives you to confirm, and you're done.
This small step provides a massive boost to your account's safety.
Keeping Your Content Where It Belongs
Let's talk about leaks. It’s a huge concern for every creator, and while nothing is 100% foolproof, OnlyFans has some solid built-in tools to help you protect your hard work. The best one is the automatic watermarking feature.
By default, OnlyFans automatically places a watermark on your photos and videos that includes your username and the username of the fan who is viewing it. This is a game-changer. It means if someone does leak your content, their digital fingerprint is all over it, making them much easier to identify.
Think of features like 2FA, watermarking, and geo-blocking as your first line of defense. Activating all of them isn't optional—it's a core part of setting up your OnlyFans business for long-term safety and success.
You can even adjust the watermark's position if you find it too distracting, but the security it provides is well worth it. Double-check that "Display username on media" is toggled on in your privacy settings. It’s a simple click that adds another layer of ownership to everything you post.
Using Geo-Blocking to Protect Your Privacy
Geo-blocking is an incredibly useful tool that so many creators forget about. It lets you completely block people from specific countries—or even whole continents—from ever seeing your profile.
Why would you do this? A few key reasons come to mind from my experience:
- Keep Your Worlds Separate: Want to avoid having friends, family, or coworkers from your hometown stumble across your page? Block your entire country. It’s the easiest way to maintain your anonymity.
- Navigate Tricky Legal Waters: Content rules are different all over the world. Geo-blocking helps you avoid potential issues by making your content unavailable in places with stricter regulations.
- Hone Your Audience: You can also use it in reverse, focusing your efforts on regions where you know you have a strong fanbase and blocking areas with low engagement.
It’s easy to set up in your "Privacy and Safety" settings; you just add countries to your blocklist. Take a minute to think strategically about who you want seeing your content—and more importantly, who you don't.
If you’re also thinking about privacy within your own home, our guide on how to block adult websites on any device can give you an extra layer of control on your personal network. Taking these steps from day one lets you create with confidence, knowing you've done everything you can to secure your space.
Got Questions About Setting Up Your OnlyFans?
Jumping into OnlyFans for the first time can feel like a lot. You've got questions about getting verified, how payments work, and a dozen other things. It's completely normal, and getting clear answers from the get-go is the best way to start strong.
Let's walk through some of the most common questions new creators have. Think of this as a quick-start guide to clear up the confusion and get you on the right track.
How Long Does OnlyFans Verification Usually Take?
You'll need a little patience here, but not too much. Typically, you can expect the OnlyFans verification process to take anywhere from 24 to 72 hours. Their team manually reviews every application, so this window gives them time to check your documents and make sure everything is legit.
A few things can affect this timeline. If a ton of people are signing up at once, you might be looking closer to the 72-hour mark. On the other hand, if your application is perfect—think crystal-clear photos and information that matches exactly—you could get approved in just a handful of hours. The single biggest factor you can control is the quality of what you submit.
What Are the Top Reasons for Account Rejection?
Getting that rejection email is a real downer, but most of the time, it's due to a simple, fixable mistake. Knowing what the review team is looking for can help you nail it on the first try.
Here are the most common slip-ups that get applications denied:
- Blurry or Unreadable ID: If they can't read every single word on your ID, it's an automatic no. Watch out for glare from lights, out-of-focus shots, or even your own finger covering up a corner.
- Expired Documents: This one's easy to miss. Always give the expiration date on your government-issued ID a quick double-check before uploading.
- Mismatched Names: The legal name you type into the application form has to be an exact match to what's on your ID. No nicknames, no shortened versions.
- Poor-Quality Selfie: That photo of you holding your ID is just as critical. Make sure your face isn't covered by shadows and that the ID in your hand is also perfectly clear.
A pro tip from creators who've been there: bad lighting is the silent killer of applications. Instead of a dimly lit room, stand near a window with natural light. It makes a massive difference and helps ensure every detail is sharp and visible.
Can I Actually Stay Anonymous on OnlyFans?
Absolutely. In fact, tons of top creators have built their entire brand without ever showing their face. While you have to give OnlyFans your legal name and ID for verification and payouts, that information is kept 100% confidential. It's never, ever shared with your subscribers.
You have total control over your public-facing persona. Pick a stage name for your display name and a username that has zero connection to your real life. From there, it's all about how you create your content.
Many faceless creators use clever camera angles, creative props, or masks to maintain their privacy. And don't forget about the geo-blocking feature—it's a game-changer. You can block entire countries, including your own, from even seeing your page. It's a powerful layer of protection.
What’s the Minimum Payout on OnlyFans?
The smallest amount you can withdraw from your account balance really depends on where you live and which payout method you set up.
For creators in the United States using ACH for a direct bank deposit, the minimum payout is usually just $20. This is the go-to option for most creators in the US because it's fast and has a low threshold.
For international creators, it’s a different story. If you're using something like a SWIFT wire transfer, the minimum payout is often much higher—think $200 or more. This is mainly because international transfers have higher processing fees, so the platform sets a higher minimum to make it worthwhile. Your best bet is to head straight to the "Banking" section in your account to see the exact numbers for your specific situation.
Can I Have a Free OnlyFans Page?
You sure can. Setting up a free page is a super popular strategy, especially for creators who want to build a large following fast. When fans can subscribe without paying, it removes that initial barrier and helps you grow your audience much more quickly.
So, where does the money come from? A free page is monetized through other avenues:
- Pay-Per-View (PPV) Content: You can send exclusive photos and videos in direct messages that fans have to pay to unlock.
- Tips: If fans are loving what you post, they can send tips on your posts or directly to your profile.
- Live Streams: Going live is a great way to engage with your audience, and they can tip you in real-time during the stream.
This "freemium" model lets you attract a massive number of followers and then focus on monetizing your most dedicated fans. If this strategy sounds interesting, our deep-dive guide on how a free OnlyFans works for creators explains everything you need to know to make it work.
At Fanclan, our goal is to help you discover the perfect creators for your interests. Our advanced search and filtering tools make it easy to explore over 100,000 profiles, find top deals, and connect with models who match your exact preferences. Find your next favorite creator today at https://fanclan.io.