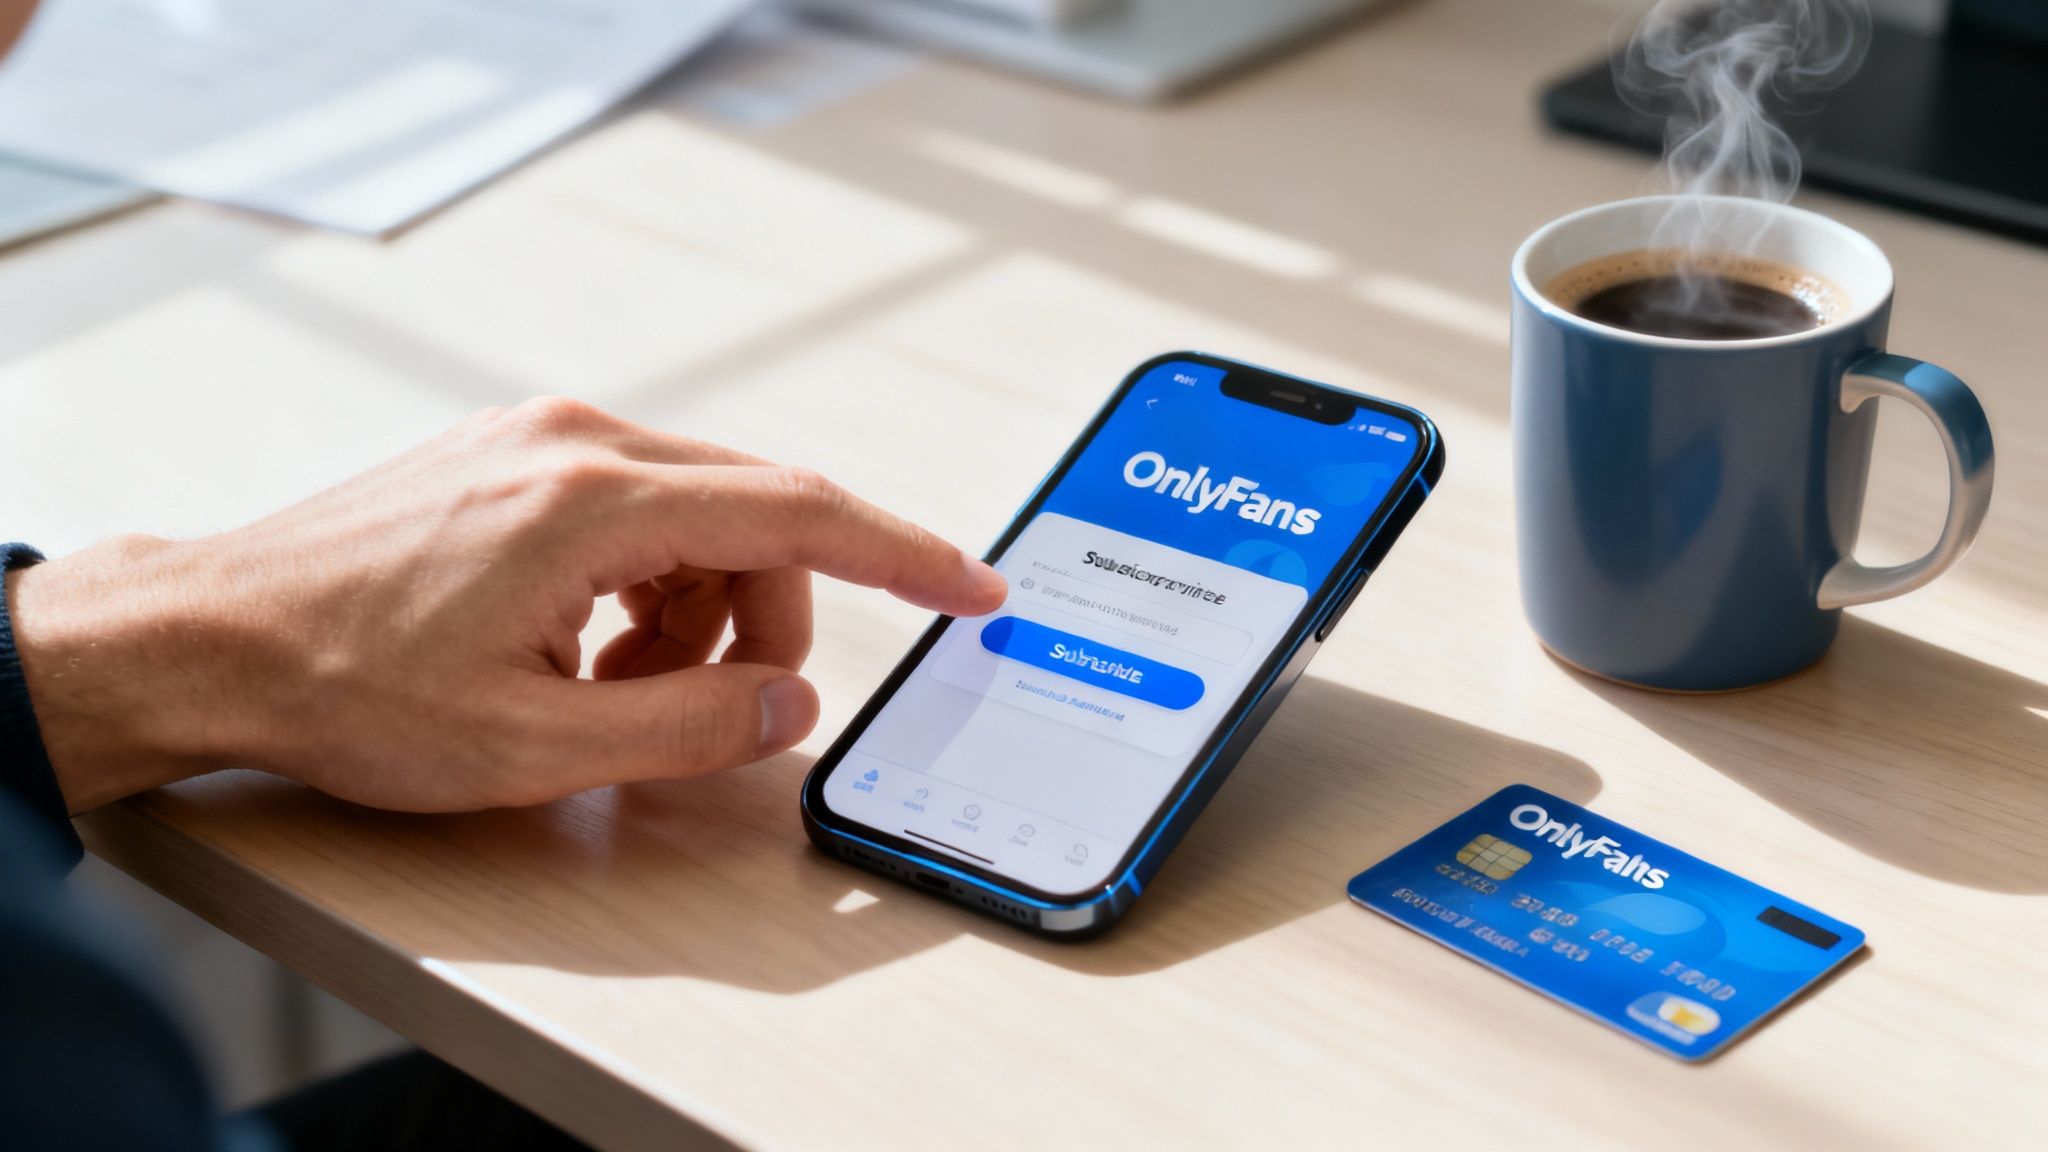
Ready to dive in? Subscribing to an OnlyFans creator is way more straightforward than you might think. It really just boils down to a few key actions: creating an account, verifying your age with an ID, adding a payment method, and then finding a creator you want to support.
The whole platform is built to get you from sign-up to viewing exclusive content in just a few minutes, all while keeping your info secure.
Your Quick Guide to Subscribing on OnlyFans

Learning how to subscribe on OnlyFans is your ticket to directly supporting creators and unlocking content that you seriously won't find anywhere else. The process is designed to be painless, even if you're a total newcomer to the platform.
There's a reason OnlyFans has exploded to over 305 million registered users. The model is simple and effective, making it incredibly easy for fans to discover and pay for exclusive content from their favorite personalities.
Getting Started on the Platform
Before we get into the nitty-gritty, let's look at the big picture. The journey from being a first-time visitor to an active subscriber has a few crucial stages, each designed to protect both you and the creators.
Here's the basic rundown of what you'll be doing:
- Account Creation: This is the easy part. You'll sign up using your email, Google, or Twitter account.
- Age Verification: A one-time, mandatory step. You'll need a government-issued ID to prove you're over 18.
- Payment Setup: You'll add a payment method, like a credit card, to your account's secure wallet.
- Creator Discovery: Now for the fun part—finding a creator you're excited about and hitting that subscribe button.
To make things even clearer, here’s a quick table breaking down the entire process from start to finish.
Subscription Process at a Glance
| Stage | Key Action | What to Expect |
|---|---|---|
| Sign-Up | Create your account | A quick form asking for email, username, and password. |
| Verification | Upload your ID | A secure process to confirm you meet the age requirement. |
| Billing | Add a payment card | Your card is stored securely for all future subscriptions and tips. |
| Subscription | Find & follow creators | Browse profiles and click the "Subscribe" button to gain access. |
Once you knock out these initial steps, you're good to go.
The best part? This setup is a one-and-done deal. Once your account is verified and your payment method is saved, subscribing to any new creator is literally just a single click.
If you're brand new to all of this, our comprehensive OnlyFans guide for beginners has a ton of extra tips to help you get the most out of the experience from day one.
Setting Up and Verifying Your Account

Before you can get to the good stuff, you need a verified account. This is the first and most critical step—think of it as the key that unlocks the entire platform.
It might seem like a hassle, but it's really just a one-time security check. The whole process is pretty straightforward, whether you're using an email address or a social login. Just pick what works best for you.
Choosing Your Sign-Up Method
You’ve got three ways to get in the door.
- Email and Password: The old-school approach. This keeps your OnlyFans account totally separate from your other social media, which is a nice privacy perk. Just make sure to use a strong password you haven't used elsewhere.
- Google Account: Quick and easy. If you're logged into Google, it’s just a couple of clicks to create your account, saving you from remembering yet another password.
- Twitter (X) Account: Just like the Google sign-up, this lets you link your existing profile for a fast setup.
No matter which path you take, you'll end up at the same place: age verification. This isn't something you can skip; it's mandatory for anyone who wants to subscribe to a creator.
Pro Tip: Don't get hung up on your username or display name right away. You can always change them later. Your initial details are just for getting the account set up.
Navigating the Age Verification Process
OnlyFans is strictly for users 18 years old and up, and they enforce this by requiring a government-issued photo ID. This is where people sometimes get stuck, but it's simple if you know what to expect. You’ll need to upload two pictures: one of your ID and a selfie of you holding that same ID next to your face.
To make sure your verification sails through without any annoying delays, follow these tips:
- Use a Valid ID: Your best bets are a passport, driver's license, or another official government photo ID. Double-check that it hasn't expired.
- Take Clear Photos: This is the #1 reason for rejection. Make sure every bit of text on your ID is sharp and readable. Your face needs to be completely clear in the selfie, too.
- Find Good Lighting: Natural daylight is your friend. Avoid harsh glares or deep shadows that could hide details on your ID or face.
The verification is handled by an automated system and it's usually fast—often just a few hours. Once that confirmation email hits your inbox, you're officially in. Now you're all set to add a payment method and figure out how to subscribe to OnlyFans creators.
Adding and Managing Your Payment Methods Safely
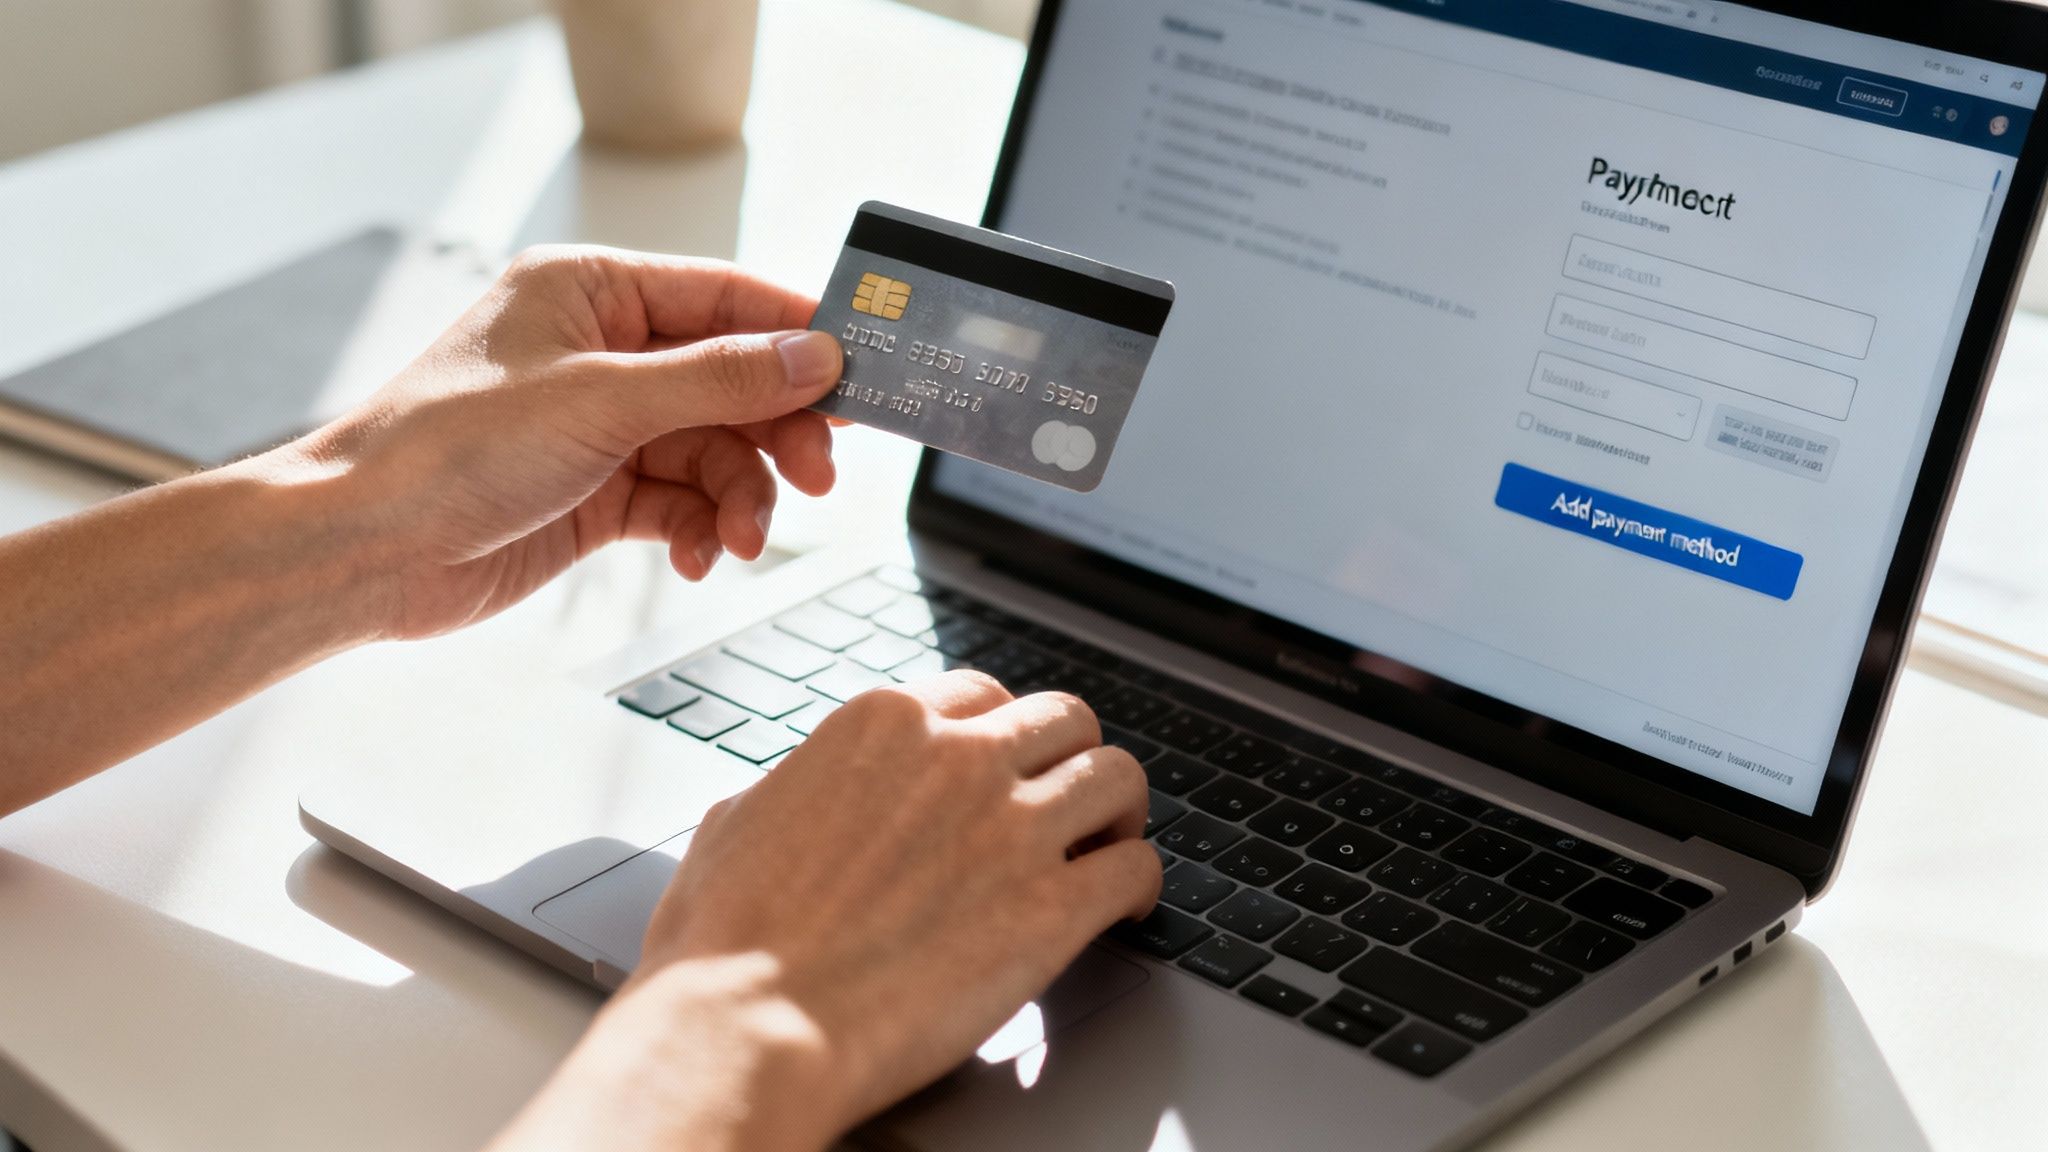
Alright, you're verified and ready to go. The next crucial step is getting your payment info set up. This is where you'll add a card to your account's secure wallet, which unlocks the ability to subscribe, tip your favorite creators, or buy one-off pay-per-view content.
Think of it like setting up your card on Amazon or Uber. You do it once, and then future purchases are just a click away. The platform processes a staggering number of transactions, so rest assured your financial data is locked down tight.
What Cards Work and How to Add Them
OnlyFans keeps it pretty standard, accepting most major credit and debit cards—think Visa, Mastercard, and Discover. Some Maestro cards might work, too. However, you generally can't use prepaid or gift cards, a measure they take to clamp down on fraud.
Getting your card on file is a breeze:
- Head over to the “My Cards” section under your account settings.
- Click “Add a Payment Card” and punch in your details.
- You might have to do a quick verification step with your bank (like a code sent to your phone).
You can even add multiple cards and pick a default. I find this super helpful for keeping my OnlyFans spending separate on a specific card, which makes tracking my budget way easier.
Keeping It Discreet: What Shows Up on Your Bill
This is a big one for a lot of people: privacy. Nobody wants an awkward conversation about their bank statement. Thankfully, OnlyFans gets it.
Charges are intentionally vague. Instead of seeing "OnlyFans," you'll likely see a generic name like "Fenix International Limited" or something similar. Your statement will never name the specific creator you've subscribed to, ensuring your activity remains private.
The platform is a massive player in the creator economy, processing an incredible $7.2 billion in payments over a recent 12-month span—that's a 9% jump from the year before. Millions of users trust the system, and that kind of volume speaks for itself. You can read more about the platform's incredible financial growth if you're curious.
Pro Tip: By default, all subscriptions are set to auto-renew. If you just want to check out a creator for a month, make sure you dive into your settings and toggle off auto-renewal right after you subscribe. Don't forget!
Tips for Smart and Secure Spending
Just having a card on file isn't enough; you need to be smart about how you use it. It’s easy to get carried away when you find a few creators you love.
- Set a Monthly Budget: Decide what you're comfortable spending each month and stick to it. It's surprisingly easy to let small subscriptions add up.
- Check Your Statements: Give your bank statement a once-over every so often. Make sure you recognize all the charges and that everything lines up.
- Watch Out for Scams: This is critical. Never give your card details to anyone directly, not even a creator in DMs. All official payments happen through the site's secure gateway, no exceptions.
Want to level up your online safety game? Our guide on how to avoid online scams and protect your data is packed with more tips to keep you safe out there. A little bit of awareness goes a long way in letting you enjoy the content worry-free.
Finding Creators and Finalizing Subscriptions
Alright, your account is verified and your payment method is locked in. Now for the fun part—finding creators and jumping into your first subscription. This is where you actually get to explore and find content that fits exactly what you're looking for.
The discovery process is a bit of a hybrid game. You’ll do some searching on the platform, but a lot of discovery happens off-platform. The biggest creators tend to build their audiences on places like Twitter (X) or Instagram, then guide their followers over to their exclusive stuff.
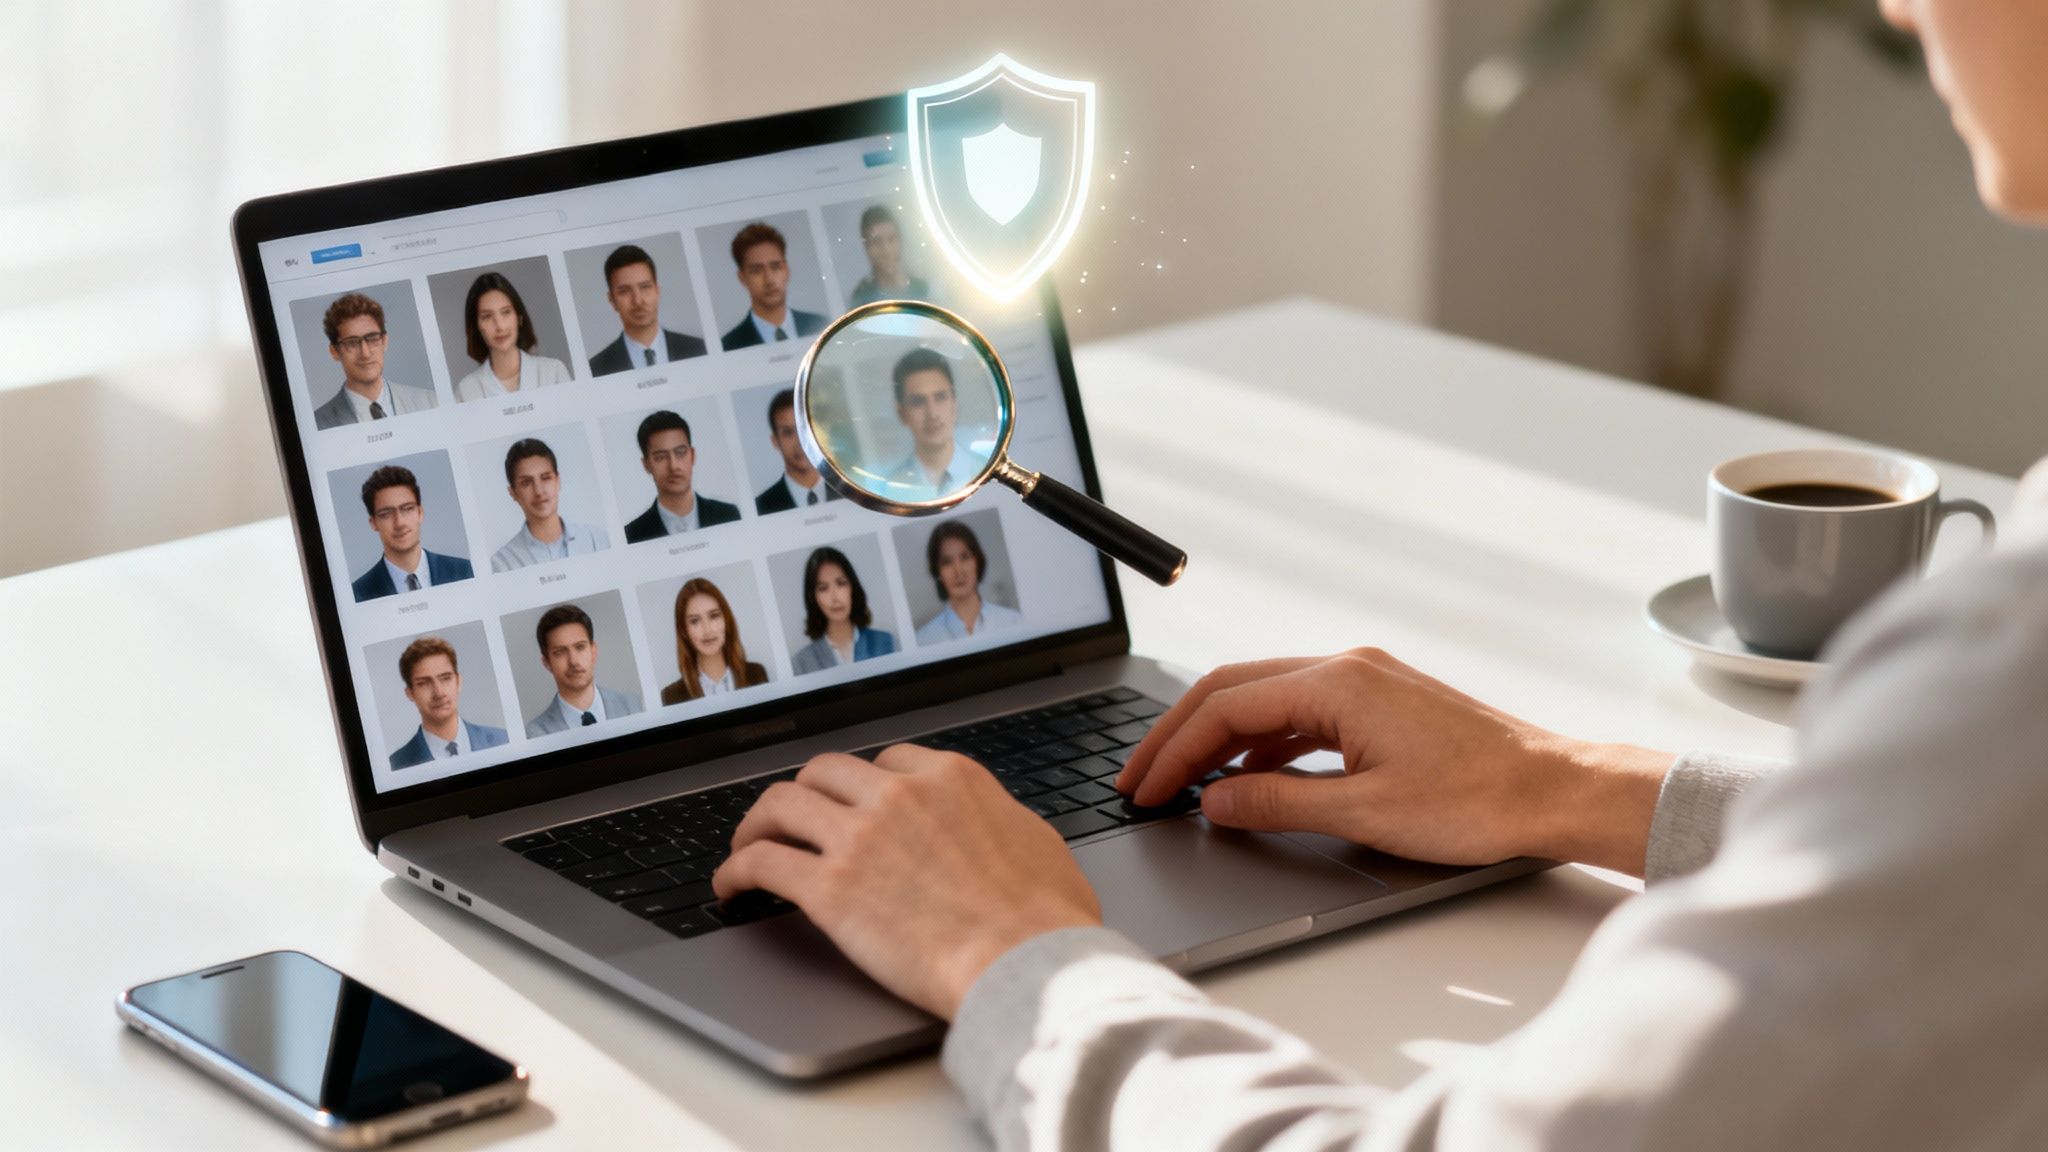
Discovering Creators You Will Love
Finding the right creator is what makes or breaks the experience. While the platform's own search function can feel a little basic, there are a few solid ways to track down people you’ll want to support.
- Social Media Links: This is the most straightforward method. Your favorite influencers and personalities on other platforms will almost always have a direct link in their bio. One click, and you're right on their page.
- Explore Suggestions: As you browse, the platform pays attention. It will start recommending creators based on profiles you've already viewed or subscribed to. It's a surprisingly good way to stumble upon new accounts in the same niche.
- Use Discovery Platforms: Let's be honest, the native search on OnlyFans can be frustrating. For a much better experience, check out our guide on how to search in OnlyFans using easy tips and methods. It dives into some powerful tools that help you pinpoint exactly who you're looking for.
Understanding Different Subscription Models
Not every creator's page works the same way. Getting a handle on the different models will help you manage your budget and decide where you want to spend your money.
The most common setup is a monthly subscription fee. You pay a flat rate each month, and that gets you access to everything on a creator's main feed. Think of it as a personal Netflix subscription for that one creator.
Key Insight: Before hitting that subscribe button, always scope out a creator's free preview content or their public bio. This gives you a vibe for their content style and how often they post, so you know what you’re paying for before you commit.
Beyond the standard sub, you'll run into a few other ways creators structure their pages.
- Bundles and Discounts: A lot of creators will cut you a deal if you subscribe for a few months at once, like 20% off for a three-month bundle. If you know you're in it for the long haul with a specific creator, this is a no-brainer for saving cash.
- Pay-Per-View (PPV): This is content sent directly to your DMs that costs extra to unlock. It's totally separate from your subscription fee and is how creators often sell their most exclusive or personalized content.
- Free Pages: You'll also find creators with free-to-follow pages. They use these to post teasers and build an audience, making all their money from PPV messages and tips instead of a subscription paywall. It's a great way to get a feel for their content without spending a dime.
Once you’ve found someone you want to follow and you’re clear on their pricing, the last step is a breeze. Just hit the big blue “Subscribe” button on their profile. A confirmation will pop up with the price, asking you to authorize the payment from your card on file. It's a simple one-click process that gives you instant access.
Managing Subscriptions Privacy and Notifications

Alright, so you've hit "subscribe." That's the easy part. The real pro move is mastering your account settings to control your subscriptions, lock down your privacy, and dial in your notifications. This is how you make the platform truly work for you.
Getting a handle on your account settings isn't just about being organized—it’s about preventing surprise charges. Let's talk about the biggest culprit: auto-renewal. It's on by default for every single subscription, meaning your card will get hit again when the billing cycle ends unless you proactively switch it off.
Keeping Track of Your Subscriptions
It's surprisingly easy to lose track of who you're subbed to, especially when you're following a few different creators. Luckily, OnlyFans gives you a central dashboard to see everything. Just head to the "Subscriptions" tab in your settings for a full list of everyone you're currently supporting.
This is your command center. From here, you can toggle the auto-renew feature off for each creator. Say you subscribed just to catch one specific video—you can go right in and kill the auto-renewal. That way, you get the full month of access without the risk of forgetting and getting billed again.
Key Takeaway: Make it a habit to check your auto-renewal settings the moment you subscribe. This one simple action keeps you in the driver's seat of your spending and eliminates any unwanted charges later on.
To make things even simpler, here are the main actions you'll be taking to manage your subscriptions.
Subscription Management Actions
| Action | How to Do It | Key Takeaway |
|---|---|---|
| View Subscriptions | Head to your profile menu, then click on "Subscriptions." | This is your hub for all active, expired, and followed accounts. |
| Turn Off Auto-Renew | Find the creator in your "Active" list and flip the toggle to off. | Your access continues until the current billing cycle ends. |
| Cancel Immediately | Not an option. You let the subscription expire by turning off auto-renew. | Disabling auto-renewal is the platform's official way to "cancel." |
Once you get the hang of toggling auto-renew, you'll feel much more in control of your account and your budget.
Fine-Tuning Your Privacy and Notifications
Your privacy is non-negotiable, and OnlyFans gives you a few key tools to protect it. A few small tweaks can create a much more anonymous experience if that's what you're after.
- Display Name: You're not stuck with your real name. Change your display name to a pseudonym anytime you want. This is the name that shows up when you comment or send a tip.
- Show Activity Status: Want to browse without anyone knowing you're online? Just flip this toggle off. It prevents creators and other users from seeing your "online" status.
You also have total control over your notifications. You can get emails for new posts, DMs, or when a creator you follow goes live—or you can turn them all off. Customizing these alerts means you only hear about what truly matters to you.
For a deeper dive into staying safe online, check out our guide on how to protect your privacy online. Taking these simple steps makes for a much safer and more enjoyable experience on the platform.
Staying Safe and Solving Common Issues
Navigating any online platform means keeping your safety and security front and center. While subscribing on OnlyFans is pretty straightforward, spending just a couple of extra minutes securing your account can save you from major headaches later on.
The single most powerful tool you have is two-factor authentication (2FA). Think of it as a deadbolt for your digital door. Turning on 2FA adds a crucial layer of protection by asking for a second verification step—usually a code sent to your phone—anytime you log in from a new device. It’s a simple move that stops unauthorized access cold.
You also need to stay sharp against phishing scams. These are just sneaky emails or messages designed to trick you into handing over your login details.
Crucial Reminder: OnlyFans will never ask for your password in an email or a DM. All official business, especially payments, happens securely on their website. If you get a message with a weird external link asking for your info, it’s a scam.
Troubleshooting Common Subscription Problems
Even with a perfect setup, things can go sideways. The good news is that most little glitches are easy to fix yourself without needing to wait on customer support. Before you panic, try these quick fixes for the usual suspects.
Here’s a rundown of common issues and how to solve them fast:
- Payment Declined: This is easily the most frequent problem. First, just double-check your card details. Is the expiration date right? Is the number correct? If everything looks good, the issue is likely with your bank. They sometimes block transactions for security reasons, so a quick call to them usually clears it up.
- Subscription Not Activating: You paid, but you can't see the content. Frustrating, right? Before doing anything else, just log out of your account and log back in. A simple refresh of your session is often all it takes to kickstart the access.
- Content Won't Load: If videos are buffering endlessly or images won't appear, your internet connection is almost always the culprit. Try switching from Wi-Fi to your phone's data (or the other way around) to see if that gives it the boost it needs.
If you notice that the platform's search features are also on the fritz, it might point to a bigger site-wide issue. For more in-depth solutions, check out our guide on what to do when the OnlyFans search is not working.
Frequently Asked Questions
When you're getting started, a few questions always pop up, especially around privacy and payments. Let's clear up the most common ones so you can subscribe with confidence.
Are OnlyFans Subscriptions Anonymous?
Your subscriptions are private, but not 100% anonymous. While other users on the platform can't see who you follow, the creator you subscribe to will see your profile name and username.
Want a bit more privacy? Just head to your settings and change your display name to something more generic. Easy.
Keep in mind, your payment info is always tied to your real identity for verification, but this is kept secure and is never shared with creators.
What Appears on Your Bank Statement?
This is a big one for a lot of people. The good news is that the platform is built for discretion.
Charges on your bank or credit card statement will never say "OnlyFans." Instead, you’ll see a generic business name, usually "Fenix International Limited" or something similar. The creator's name will never appear, keeping your transactions private.
It makes sense when you consider the platform's user base. The average paying user is between 35 and 44 years old, a demographic that definitely values both exclusive content and discreet billing. You can find more cool stats in this breakdown of OnlyFans user demographics here.
Can You Subscribe Without a Credit Card?
For the most part, you'll need a valid credit or debit card from a major provider like Visa or Mastercard.
The platform generally doesn't accept prepaid gift cards or anonymous payment methods like PayPal. This is a standard security measure to prevent fraud and verify all users are legitimate. If you don't have a credit card, a debit card linked directly to your bank account is your best bet.
Ready to discover your next favorite creator? Fanclan is a powerful search and discovery tool that helps you browse thousands of profiles, find the best deals, and connect with models that match your interests perfectly. Start your search on Fanclan.io today!