When you're just starting out, you really only need to focus on four key pieces of streaming equipment for beginners: a solid camera, a clear microphone, decent lighting, and easy-to-use software.
Sure, you can go live using just your laptop's built-in webcam and mic. But here’s the thing—investing even a small amount into some basic external gear will massively boost your production quality. Let's walk through the essentials you need to look and sound professional from your very first stream.
Your First Streaming Setup What You Really Need
Jumping into streaming can feel like a gear overload. All the gadgets, the tech specs... it's a lot. But honestly? You don’t need a multi-million dollar studio to connect with an audience.
The secret is to nail the four fundamentals: video, audio, lighting, and software. Each one is a pillar holding up your stream's quality, directly impacting how viewers experience your content.
Here’s a great example of a simple, effective home streaming setup. It shows how the core pieces fit together without needing a ton of space or complicated equipment.
See? Clean, effective, and totally achievable.
To give you a better idea of where to start, here's a quick rundown of some popular, budget-friendly options that punch way above their weight class.
Essential Gear for Beginner Streamers
This table compares some top entry-level gear to help you build your first setup without breaking the bank.
| Equipment Type | Popular Beginner Model | Typical Price Range |
|---|---|---|
| Camera | Logitech C920 | $60 - $80 |
| Microphone | Blue Yeti | $90 - $130 |
| Lighting | Neewer Ring Light Kit | $40 - $70 |
| Software | OBS Studio | $0 (Free) |
These are tried-and-true choices that thousands of successful streamers started with. You get amazing performance for the price, and they're all super easy to set up.
The Core Four Components
Let's break down exactly why each of these four pieces is non-negotiable. Getting this stuff right from day one will save you a ton of frustration down the road.
- Your Camera: This is your audience's window into your world. A high-quality webcam like a Logitech C920 or Razer Kiyo is a night-and-day difference from your blurry laptop cam. They're affordable and deliver a crisp, professional image.
- Your Microphone: I can't stress this enough: bad audio will kill your stream faster than anything else. Viewers will forgive a slightly grainy video, but they won't stick around for muffled, crackly sound. A USB mic like the Blue Yeti or Rode NT-USB is the gold standard for a reason—it gives you that rich, clear broadcast voice.
- Your Lighting: This is the one thing that separates amateurs from pros. You don't need a Hollywood lighting rig. A simple ring light or a couple of small LED panels is all it takes to eliminate harsh shadows, brighten your face, and make your video feed pop.
- Your Software: This is the brain of your operation. It’s what takes your camera, mic, and any on-screen graphics and beams them out to the world. Free programs like OBS Studio or Streamlabs are incredibly powerful and used by everyone from total beginners to the biggest names on Twitch.
The demand for high-quality streams is exploding. The global market for live streaming equipment is set to jump from USD 7.80 billion to USD 14.86 billion by 2030. That tells you just how much viewers care about production value.
As you start building your online presence, don't forget about your personal security. For some crucial tips, check out our guide on how to protect personal information online.
Breaking Down the Core Streaming Components
Diving into streaming gear for the first time can feel totally overwhelming. You hear pros tossing around terms like "capture card" and "audio interface," but what do these things actually do? Getting a handle on what each piece does is the key to spending your money wisely.
Every gadget in your setup has a specific job, and they all have to work together to get your content out there. Think about it: the gear a fast-paced gamer needs is going to be wildly different from what a musician needs for a live jam session. It's never about buying the most expensive toys; it's about buying the right ones for your show.
A gamer, for instance, is going to obsess over a high-refresh-rate monitor and a beefy capture card to make sure their gameplay footage is buttery smooth. On the flip side, a podcast host will sink their budget into a top-tier microphone and an audio interface to get that crisp, professional dialogue.
Unpacking Your Primary Tools
Let's demystify the main players in a standard streaming setup. Imagine your stream is an assembly line—each component has a crucial role to play.
- Camera: This is your window to the world. It’s what captures your reactions, your art, or your performance for your audience to see.
- Microphone: This picks up your voice, music, and any other audio you want to broadcast. Honestly, audio quality is often more important than video. Viewers will put up with a slightly grainy picture, but bad sound will make them click away in a heartbeat.
- Capture Card: This is a must-have for console gamers. It's a special device that grabs the video feed from your gaming console (or a second PC) and sends it over to the computer you're streaming from, ensuring a high-quality broadcast.
- Audio Interface: This little box connects professional-grade microphones (the ones with the chunky XLR plugs) to your computer. It turns the analog signal into a digital one your computer can understand and gives you way more control over your sound levels.
A huge mistake I see beginners make is forgetting that all this gear has to work in harmony. You can have the best camera on the market, but if your lighting sucks, the video will look terrible. Same goes for a pricey mic in a room with awful acoustics—it’s just not going to sound good.
Tailoring Gear to Your Content
What you plan to create should dictate every single purchasing decision. A musician broadcasting a live set will care way more about an audio interface and multiple microphones than they will about a 4K webcam. Their entire focus is on creating a rich, immersive sound experience for their listeners.
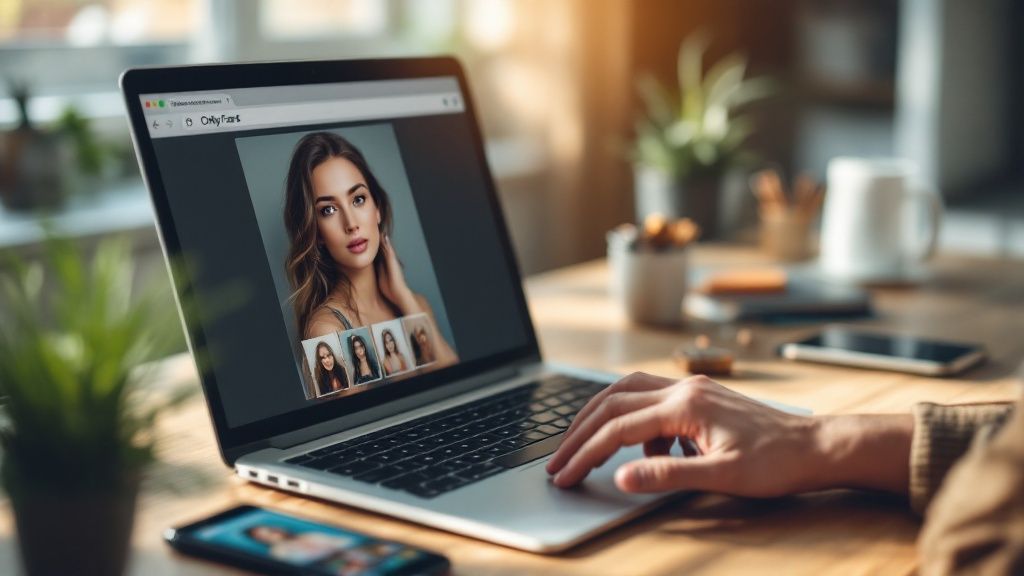
On the other hand, a visual artist or a makeup streamer will probably invest in a high-end mirrorless camera and a proper three-point lighting system. They need to show off true-to-life colors and razor-sharp details. And if you're building a brand on your personality, like many cam models do, that visual quality is non-negotiable. You can actually see how top creators get their start in our guide on how to start camming successfully.
The live streaming industry has absolutely exploded, ballooning into a $100 billion global industry. According to live streaming industry statistics on Teleprompter.com, that's four times the growth in just five years, proving audiences are hungry for high-definition, low-latency content. It just goes to show that investing in the right core components really does pay off.
Choosing a Camera That Makes You Look Great
Your camera is your audience's direct window into your world. That makes it one of the most impactful pieces of streaming equipment you'll buy, especially when you're just starting out.
Think about it: visual quality creates that all-important first impression. You don't need a Hollywood budget to look good, but knowing your options will help you make a smart investment right from the jump.
When I started streaming, my first camera was a simple Logitech C920. It was affordable, totally plug-and-play, and gave me a crisp 1080p image that blew my laptop’s built-in camera out of the water. Honestly, it served me well for over a year.
Webcam vs Mirrorless vs Smartphone
Let's get real about your three main choices. Each one has its place, depending on your budget and how serious you are.
Webcams: This is the go-to for most beginners, and for good reason. Models like the Logitech Brio or Razer Kiyo deliver excellent 1080p or even 4K resolution, handle low light surprisingly well, and have reliable autofocus. They just work.
Mirrorless/DSLR Cameras: This is the upgrade path for when you're ready to level up. Using something like a Sony a6000 or a Canon M50 is a massive leap in quality. You get that gorgeous, blurry background (called bokeh), way better color, and incredible performance in dim lighting. The catch? It costs more and needs extra gear, like a capture card.
Smartphones: Don't sleep on the camera you already own. Modern iPhones and Androids have incredible cameras capable of shooting in 4K. With an app like Camo and a cheap tripod, you can turn your phone into a top-tier streaming camera for almost no extra cost.
I knew it was time to move on from my webcam when I started craving more creative control. I wanted that cinematic, shallow depth-of-field look and the ability to swap lenses. Switching to a Sony mirrorless camera completely changed my stream's vibe, making it look way more professional overnight.
The two specs that matter most are resolution and frame rate. You should aim for at least 1080p resolution and 30 frames per second (fps). While 60 fps is smoother, 30 fps is totally fine for most streams and is way easier on your computer.
It's all about balancing cost and quality. Start with a great webcam; it's more than enough to build a solid following. Once your channel starts growing, you can reinvest in a more advanced camera.
If you want to go deeper on specific camera options, our guide on the best adult webcam reviews for 2025 breaks down exactly what makes a streaming camera stand out. At the end of the day, the right camera is one that fits your budget and lets you create content you're proud of.
Mastering Your Audio and Lighting
If your camera is what gets people to click, your audio and lighting are what make them stay. Seriously. Viewers will put up with a slightly grainy camera, but they'll bounce in a heartbeat if your audio is full of static or the lighting makes you look like you're hiding in a bunker.
Think of it this way: great audio and lighting are non-negotiable. The good news? You don't need a pro-level studio budget to nail these two critical parts of your setup. Let's dig into how to get that crisp, clean sound and flattering light that makes you look like a seasoned pro.
Choosing Your First Microphone
Your path to amazing audio starts with the right microphone. For anyone just starting out, you're really looking at two main options: USB and XLR mics. Each has its pros and cons.
USB Microphones: These are the definition of plug-and-play. Mics like the Blue Yeti are legendary in the streaming world for a reason—they just work. You plug it into your computer's USB port, select it as your audio source, and you're off to the races. It’s a simple, effective way to get a massive quality boost for a reasonable price.
XLR Microphones: This is the more "professional" route. XLR mics need a separate piece of gear called an audio interface to connect to your computer. That means a bit more cost and a few more cables. The payoff, however, is superior sound quality and way more flexibility for upgrades down the line. It's a solid investment if you're serious about audio from day one.
For most beginners, a quality USB mic is the perfect place to start. It’s a huge leap in quality from any built-in mic without the technical headache of an XLR setup. It also helps create a much cleaner, more professional stream by cutting down on background noise. Speaking of keeping things clean, you can learn more about how to create a secure online space by understanding what content filtering is and how it protects online safety.
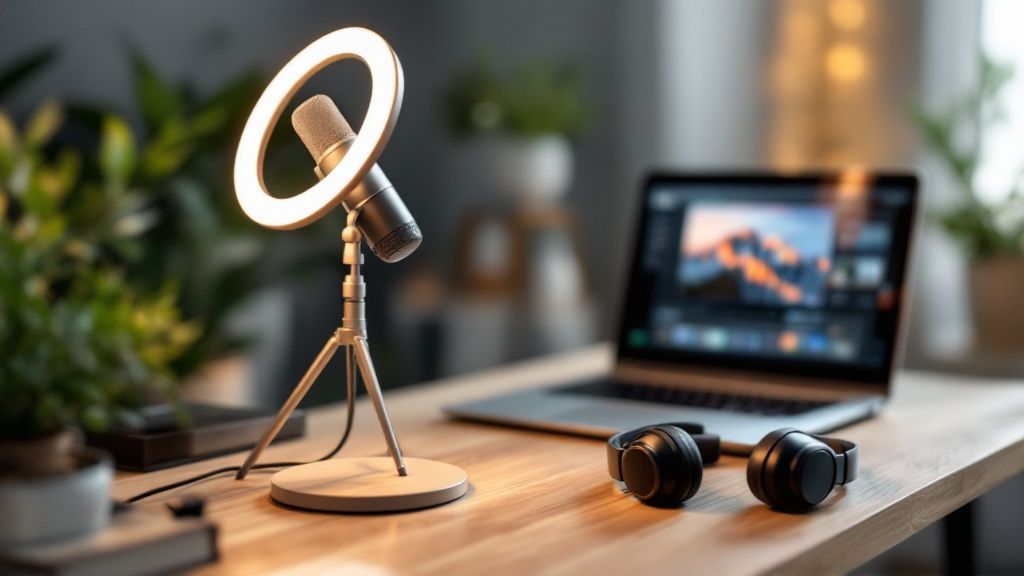
Lighting Your Scene Like a Pro
Good lighting is the secret weapon that makes any webcam look ten times better than it is. It smooths out your skin, gets rid of weird shadows, and makes your video feed look sharp and clear.
The industry standard for streamers is what's called a three-point lighting setup. It sounds way more complicated than it actually is.
- Key Light: This is your main, brightest light. You'll want to place it slightly to one side of your camera, pointing at your face.
- Fill Light: This one is a bit softer and goes on the opposite side. Its only job is to fill in the shadows created by your key light, giving you a more even look.
- Back Light: Sometimes called a hair light, this goes behind you. It creates a subtle glow that separates you from your background, adding depth and making the whole shot look more professional.
Don't get overwhelmed trying to get all three lights at once. Just starting with a single key light—like a simple ring light or an affordable LED panel—will make a night-and-day difference. You can always add the fill and back lights later as you dial things in. The goal is just to create soft, even light that makes you look great.
Putting Your Streaming Studio Together
Okay, the boxes are empty and your new streaming gear is sitting there, gleaming. This is the moment where a pile of gadgets becomes a real, working studio. It's time to plug everything in and bring your broadcast to life.
Don't let the tangle of cords intimidate you. The process is pretty logical when you break it down. Your computer is the brain of the operation, and your camera, mic, and lights are the senses feeding it information. The mission is to get those connections clean and stable so your software can work its magic.
Let's walk through getting everything hooked up, managing the cable chaos, and making sure your PC or Mac can see and use every piece of hardware.
Connecting Your Core Components
First things first, let's get the essentials plugged in and powered on. For most beginner setups, this is surprisingly simple and usually just involves a few USB ports.
- Microphone: Got a USB mic like a Blue Yeti? Awesome. Just plug it straight into an open USB port. Your computer should automatically recognize it as a new audio input device. Easy.
- Camera: Same deal for a webcam like the Logitech C920 or Razer Kiyo. Plug it into a USB port, and it'll pop up as a video option in your streaming software.
- Lighting: Your ring light or LED panels will likely get their power from either a USB port or a standard wall outlet. Get them in position, plug them in, and you're all set to start tweaking the brightness.
Now, if you splurged on a slicker camera like a DSLR or mirrorless model, you'll need one extra piece of kit: a capture card. This little box is a game-changer. It acts as a translator, taking the high-quality HDMI signal from your camera and converting it into a USB signal your computer can actually use for streaming.
This infographic shows just how straightforward connecting a capture card is.
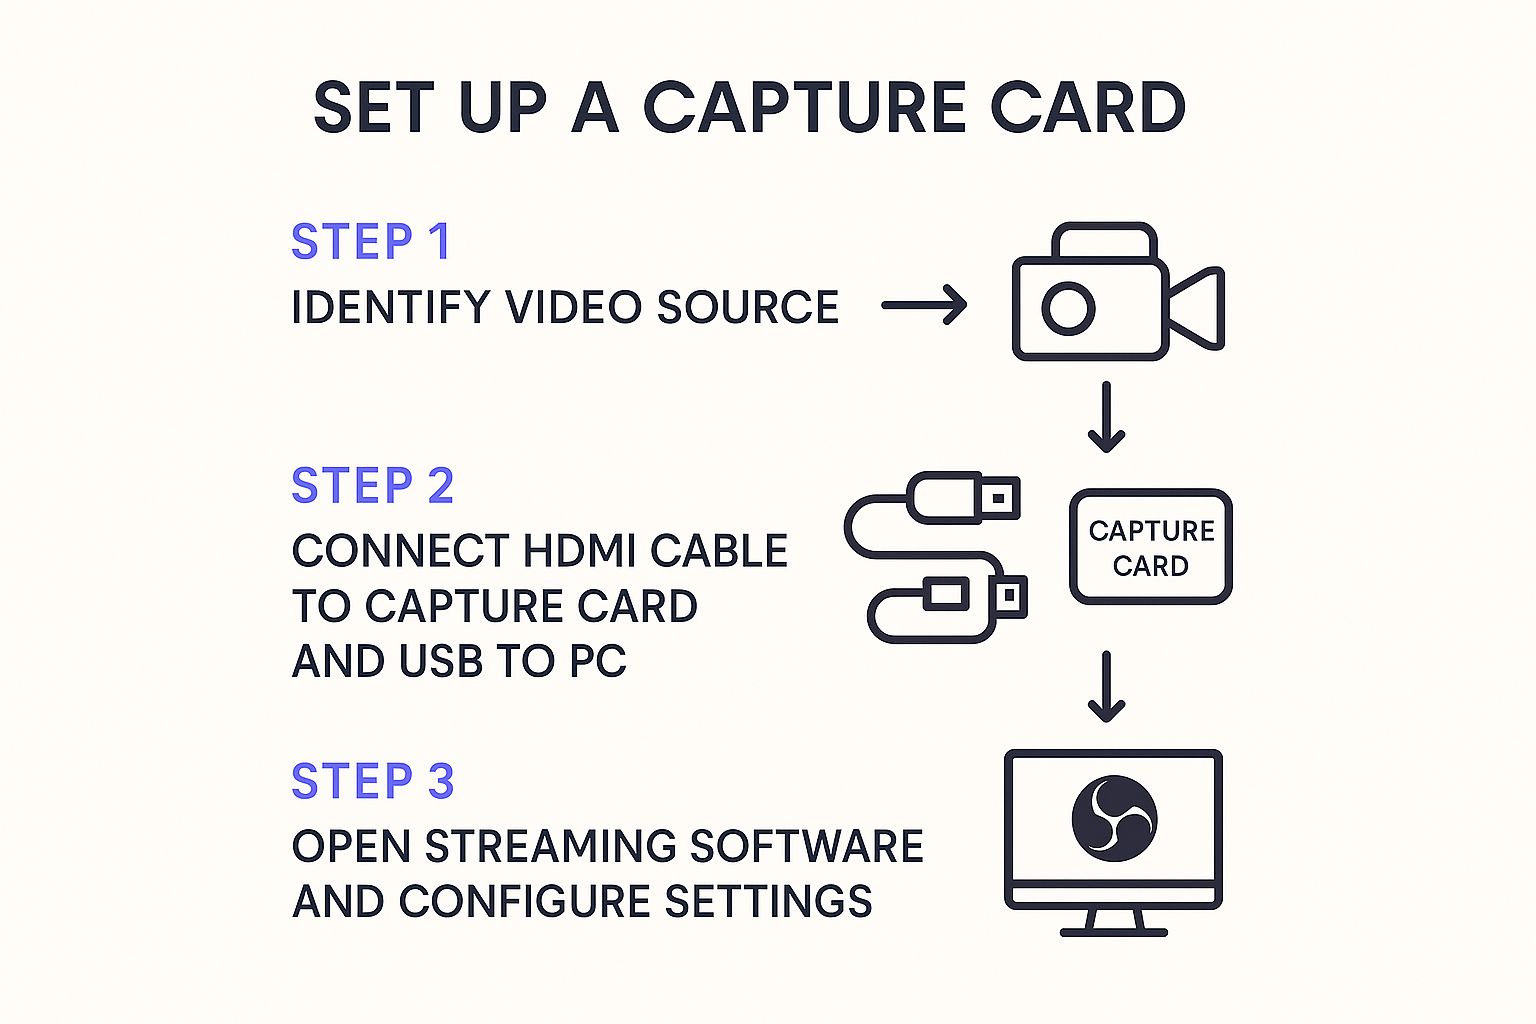
As you can see, it's a direct line from your camera to your computer, and it's the key to unlocking that massive jump in video quality.
Configuring Your Streaming Software
With all your hardware connected, it's time to fire up your streaming software. We'll focus on the big players here, like the free and powerful OBS Studio or its user-friendly cousin, Streamlabs. This is where you tell the software what gear you want to use for your broadcast.
Inside the software, you'll be working with "Scenes" and "Sources." Think of a Scene as a specific layout for your stream (e.g., "Full Screen Gameplay," "Intermission Screen"). The Sources are all the individual elements that make up that scene—your camera feed, microphone, game capture, overlays, and so on.
Here’s the basic rundown for adding your new gear:
- Start with a Scene: Create a new scene and name it something obvious, like "Main Cam."
- Add Your Video: Hit the "+" button under the "Sources" panel and choose "Video Capture Device." In the menu that pops up, select your webcam or capture card. Your face should appear on the screen!
- Add Your Audio: Hit "+" again, but this time pick "Audio Input Capture." Find your USB microphone in the list and select it.
Boom. You have video and audio. Now you can click and drag your camera feed, resize it, and position it exactly where you want it on the screen.
Pro Tip: One of the most common headaches for new streamers is the audio and video falling out of sync. If you notice your mouth moving before you hear the words, don't panic. Dive into your software’s advanced audio properties and find the "Sync Offset." You can add a tiny delay (in milliseconds) to your audio or video until everything lines up perfectly.
Optimizing for a Stable Stream
A choppy, buffering stream is the fastest way to lose viewers. That's why getting your settings dialed in for a stable broadcast is non-negotiable.
Head into your streaming software's settings and find the "Output" tab. The single most important setting here is your video bitrate, which controls the quality and data size of your video stream. For a solid 1080p stream at 30 frames per second, a good starting point is a bitrate between 3,500 and 5,000 Kbps.
Keep in mind, a higher bitrate looks better but demands more from your internet connection—specifically your upload speed. Before you ever hit "Go Live," run an internet speed test. As a rule of thumb, your bitrate should never exceed 75% of your available upload speed. This leaves a crucial buffer to keep your stream from dropping frames if your connection fluctuates. The streaming peripheral market is blowing up—it's expected to be worth $89.48 billion by 2026—largely because new gear is making these technical steps easier for creators. You can learn more about the growth of the streaming device market on fortunebusinessinsights.com.
Finally, once your setup is humming, you need to protect it. Digital security is just as important as tidy cable management. Make sure your new creator accounts are locked down by checking out our guide on how to avoid online scams and protect your data.
New Streamer FAQs
Stepping into streaming for the first time? It's totally normal to have a million questions buzzing around. The tech side can feel intimidating, but we've got you covered. Here are some quick answers to the questions we hear most from creators firing up their first set of streaming equipment for beginners.
How Can I Start Streaming on a Tight Budget?
You really don't need to drop thousands of dollars to get a great-looking stream. The secret is spending your money where it counts the most: audio and lighting.
- Your Smartphone is a Powerhouse: Don't sleep on your phone's camera—it's probably amazing. Grab an app, and you can turn it into a high-quality webcam for free or just a few bucks.
- A Good Mic is Non-Negotiable: If your audio sucks, people will leave. A budget-friendly USB mic is a massive upgrade over your laptop or headset's built-in microphone.
- Sunlight is Your Best Friend (and it's Free!): Just setting up your desk so you face a window can dramatically improve your video quality. That soft, natural light makes even a basic webcam look way more professional.
If you're on a tight budget, here's my advice: Spend your first $100 on a decent USB microphone and a simple ring light. I promise those two pieces of gear will boost your stream quality more than anything else you can buy at that price point.
What Causes Audio and Video Sync Issues?
Ah, the dreaded lip-sync problem. This is easily one of the most maddening technical glitches for new streamers. When your mouth is moving but the words are lagging behind, it’s usually because your computer is handling your video and audio inputs at slightly different speeds.
This happens all the time when you're using a separate camera (like a mirrorless one) and a separate microphone. Luckily, your streaming software has a fix. In OBS Studio, right-click on your audio source, go to "Advanced Audio Properties," and find the "Sync Offset" for your mic. You'll need to add a small delay—start with something between 200-500ms—and tweak it until your voice and your lips match up perfectly.
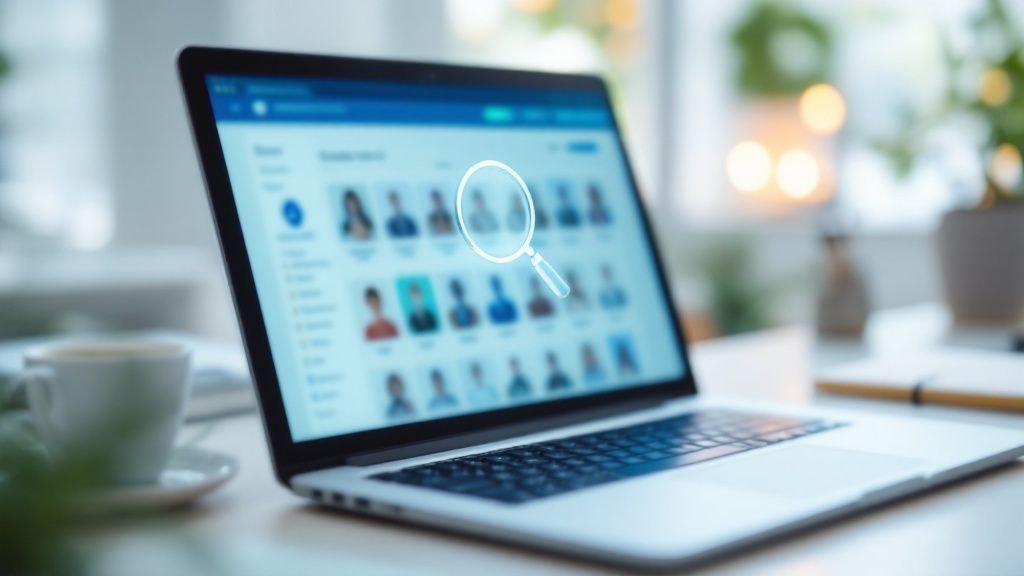
Ready to discover talented creators or build your own audience? Fanclan provides a powerful discovery platform for fans and models alike. Explore thousands of profiles today on Fanclan.io.